 Skip to content
What Are the Best Seams for Chiffon Dresses?A Manufacturer’s Guide to Clean, Durable Construction
Your trusted Women’s Apparel Development & Manufacturing Partner from China
- Jerry
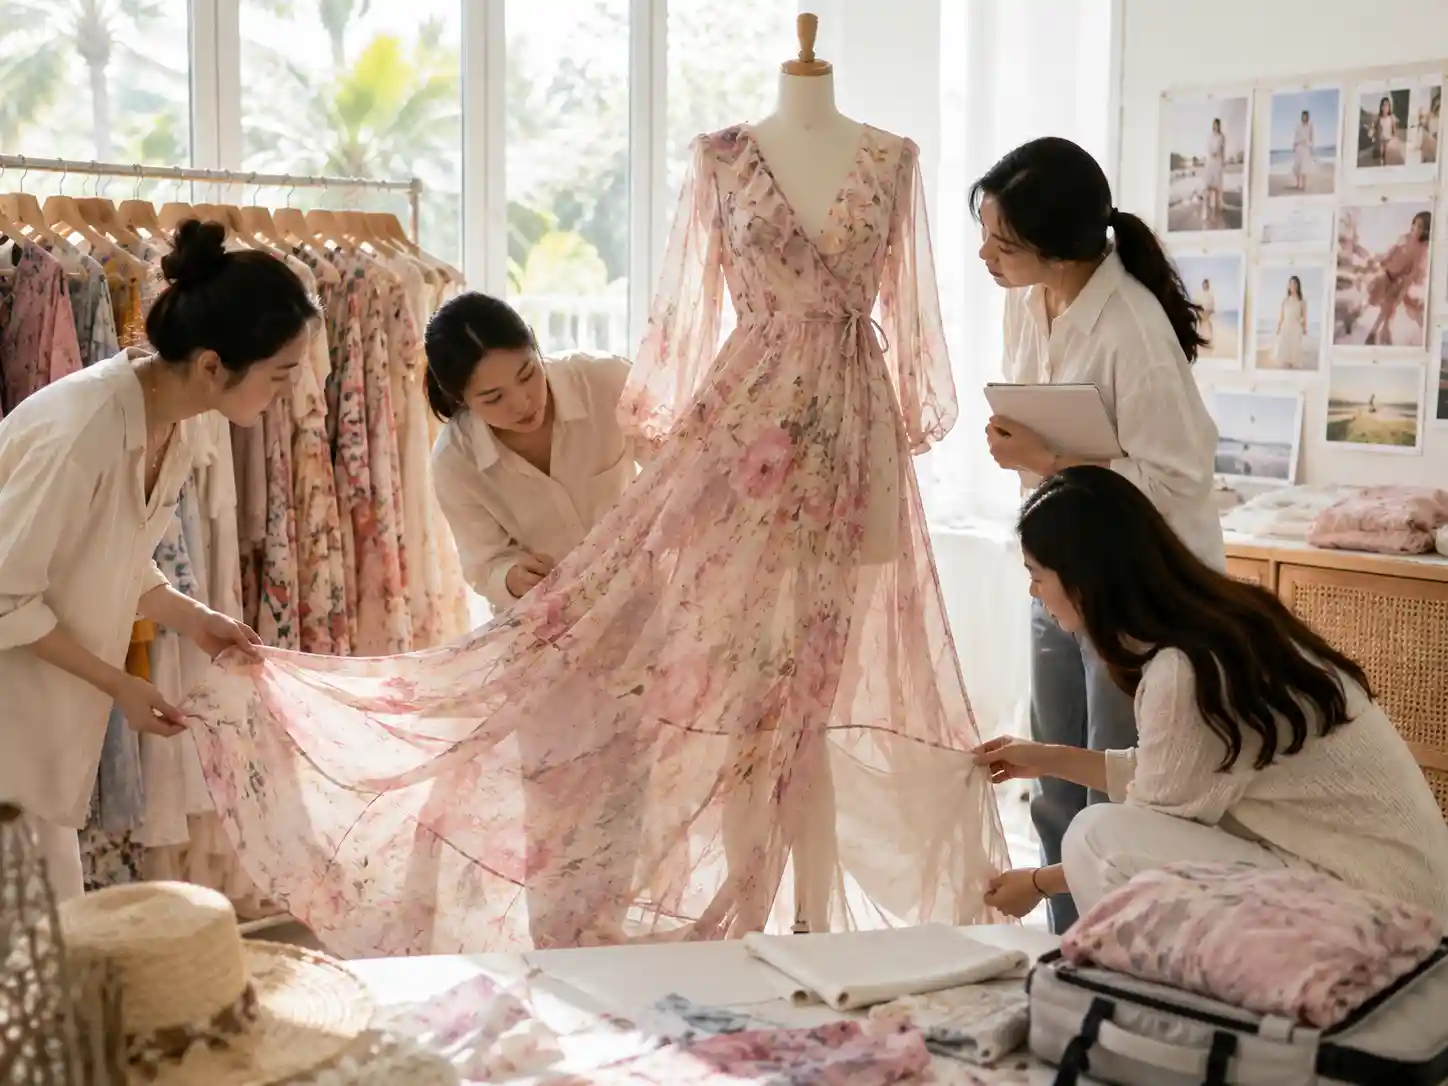
A chiffon dress can look effortless on a model while demanding unusually careful engineering behind the scenes. The fabric is light, fluid, and often transparent, so a seam that disappears inside cotton or crepe may become a visible ridge, a wavy line, or a trail of loose threads in chiffon. The real challenge is not simply sewing two panels together. It is preserving movement, controlling fraying, and building enough strength without making the garment feel stiff.
The best seams for chiffon dresses are narrow French seams or baby French seams on clean, lightly curved panels, fine overlock seams where speed and controlled flexibility matter, and enclosed plain seams inside lined or structured areas. Seam selection should change according to fabric weight, transparency, grain direction, lining construction, stress level, and the shape of each dress section.
A well-made chiffon dress rarely relies on one seam for the entire garment. Side seams may be enclosed, a waist seam may need stabilization, an invisible zipper area may require a separately finished allowance, and a circular ruffle may need an entirely different edge treatment. One poorly selected seam can change the whole commercial result. A dress may pass a flat-table inspection yet twist after hanging overnight, pucker under photography lighting, or split when the wearer sits down. Understanding where those failures begin is the first step toward preventing them.

What Makes Chiffon Seams Difficult?
Chiffon seams are difficult because the fabric is light, sheer, slippery, and easily distorted. A seam must control fraying and withstand wear without becoming bulky, wavy, or visible from the outside. The difficulty increases when panels are cut on the bias, joined to linings, gathered into waist seams, or combined with zippers, ruffles, and decorative trims.
Fine Yarns and Unstable Edges
Chiffon is woven from fine, highly twisted yarns that create its dry hand, soft movement, and slightly grainy surface. That construction gives the fabric its appeal, but it also leaves cut edges vulnerable. Once the fabric is cut, yarns near the edge can shift or pull away during bundling, sewing, trimming, and pressing.
The problem is not limited to obvious fraying. A cut panel may initially have the correct seam allowance, but repeated handling can reduce the usable edge before the operator reaches the sewing stage. This is especially common with very fine polyester chiffon, lightweight silk chiffon, and loosely woven printed qualities.
Accurate cutting therefore matters as much as sewing. Blunt blades can drag the cloth, creating irregular edges and changing the grain position. Poorly aligned layers may produce panels with different lengths or distorted curves. In production, cut parts should be kept flat, supported properly, and moved as little as possible before the first seam is secured.
A narrow seam cannot compensate for inaccurate cutting. When the available seam allowance varies from one section to another, the finished seam may contain raw edges in one area but expose loose fibres in another.
Sheerness Reveals Construction
With opaque fabric, the inside of a garment can remain largely hidden. Chiffon is different. Thread density, seam width, trimmed edges, overlock coverage, and even the direction of the seam allowance may be visible through the outer layer.
This is why a seam can be technically secure but still look poor. A dense overlock finish may produce a dark line through a pale skirt. A wide seam allowance can create a visible stripe along the side of the body. Uneven trimming may become obvious under strong lighting or against the wearer’s skin.
The lining also affects seam visibility. A pale chiffon layer over a dark lining will reveal construction more strongly than two closely matched colours. Printed chiffon adds another complication because the reverse side of the print may be much lighter than the face, making folded allowances more noticeable.
During development, seam appearance should be checked in at least three conditions: flat over a contrasting surface, hanging on a dress form, and worn over the intended lining or undergarment colour. Online fashion brands should also review seams under photography lighting, where shadows and ridges often appear more strongly.
Grain Direction Changes Behaviour
Chiffon does not behave the same way in every direction. Straight-grain edges are usually more stable, while cross-grain and bias edges can stretch or shift during sewing. A side seam joining two panels cut at different angles may feed unevenly even when the pattern measurements are correct.
Bias-cut chiffon is particularly sensitive. The fabric can lengthen under its own weight, and seams may spiral or become wavy after the garment hangs. The problem may not appear immediately after sewing. A skirt can look balanced on the table, then drop unevenly after several hours on a hanger.
Directional sewing can also affect symmetry. When one side seam is sewn from top to bottom and the opposite side from bottom to top, the garment may twist because the fabric has been pushed in different directions. Consistent operation methods are important for mirrored panels.
For bias or circular skirts, final length should not be approved immediately after assembly. The garment normally needs time to relax before the hem is levelled and finished.
Fabric Type Matters
“Chiffon” covers a wide range of fabrics. Smooth polyester chiffon, silk chiffon, stretch chiffon, crinkle chiffon, printed chiffon, and georgette-like qualities can require different seam settings.
Polyester chiffon is widely used because it is practical and available in many colours, but some versions are highly slippery or sensitive to heat. Silk chiffon is soft and luxurious, yet needle marks and handling damage may be more difficult to hide. Stretch chiffon requires seams that can move without thread breakage. Crinkle chiffon can flatten during pressing, changing both measurements and appearance.
Fabric weight alone does not determine the correct construction. A slightly heavier chiffon with an open weave may fray more than a lighter but more compact quality. Surface coatings, pleating, metallic finishes, and digital printing can also affect feeding and needle penetration.
The seam should therefore be tested on the exact production fabric, colour, lining, and finishing combination. A method approved on a substitute fabric is only a provisional decision.

Which Seams Work Best for Chiffon?
French seams and baby French seams are usually the cleanest options for sheer, lightly curved chiffon panels. Narrow three-thread overlocking is practical for lined garments, gathers, and efficient production. Plain seams work well inside enclosed structures, while bound seams suit only selected areas because they can add weight and stiffness.
French Seams
A French seam encloses the raw edge between two stitching lines, creating a narrow and tidy internal finish. It is especially useful in unlined chiffon dresses, transparent overlays, long skirt panels, and straight side seams where the inside may be visible during movement.
The first seam is sewn with the wrong sides together. The allowance is then trimmed, turned, pressed, and sewn again with the right sides together. The second stitching line must fully enclose the trimmed edge. If the first allowance is not trimmed evenly, loose fibres may remain visible outside the finished seam.
For many lightweight chiffon fabrics, a finished French seam width of approximately 5-7 mm is a practical development range. This is not a universal requirement. Very fine fabrics may need a narrower result, while unstable or stress-bearing areas may require slightly more allowance.
The advantage is visual cleanliness. The limitation is labour. French seams involve two sewing operations, trimming, turning, and pressing. They are also difficult around sharp curves, heavy gathers, and areas where several layers meet.
Baby French Seams
A baby French seam is a finer version of the standard French seam. It is often selected when the fabric is extremely sheer and the seam must create as little shadow as possible.
This construction suits delicate sleeves, narrow panels, flounces, and lightweight overlays. The finished seam is usually narrower and softer than a conventional French seam, helping the garment retain its fluid movement.
However, precision is essential. If the first seam allowance is trimmed too close to the stitching, the fabric may fray through the enclosure during wear. If it is left too wide, fibres can escape from the second seam. Operators need consistent seam guides and sharp trimming tools.
A baby French seam should not be used only because it looks refined. The seam must still support the stress level of the garment. A loose overlay and a fitted hip seam do not have the same durability requirements.
Narrow Overlock Seams
A narrow three-thread overlock seam is widely used in commercial chiffon production because it is efficient, flexible, and suitable for many concealed areas. It can work well inside lined dresses, gathered skirts, tier seams, sleeve joins, and multilayer constructions.
The settings need careful adjustment. Cutting width that is too narrow may allow the edge to escape. Excessive thread coverage can create a heavy line through the fabric. Incorrect differential feed may stretch the edge or create unwanted gathering.
A fine thread and narrow, balanced stitch generally produce a cleaner result than a dense standard overlock intended for medium-weight fabrics. The colour should be checked through the outer layer because several overlapping threads may appear darker than the thread cone suggests.
Overlocking is not automatically a low-quality option. In the correct area, it can produce a stable and commercially sensible result. The problem arises when it is used everywhere without considering transparency, drape, price position, or the customer’s expected finish.
Plain and Bound Seams
Plain seams are useful inside fully lined bodices, zipper areas, structured waist sections, and curved construction lines. They can be pressed open or directed to one side, depending on the garment architecture.
The raw edges still need control before the lining is closed. A narrow overlock finish is common, but the exact treatment should depend on fraying risk and bulk. In structured bodices, plain seams may be easier to alter during fitting and more suitable around princess lines, boning, cups, and internal support.
Bound seams provide strong edge protection but often add too much weight for fine chiffon. They may be considered in exposed premium interiors, selected structured areas, or heavier chiffon qualities. The binding fabric must be light, stable, and compatible with the outer material.
The right construction is not the one with the most expensive name. It is the one that keeps the seam flat, discreet, strong enough for its location, and repeatable in bulk production.
Seam type | Practical finished width | Best use | Main benefit | Main risk |
French seam | About 5-7 mm | Straight side seams, sheer panels | Clean enclosed edge | Bulk at intersections |
Baby French seam | About 3-5 mm | Fine overlays, sleeves, flounces | Low visual shadow | Difficult trimming control |
Three-thread overlock | About 3-5 mm | Lined dresses, gathers, tiers | Fast and flexible | Visible thread line |
Plain enclosed seam | Based on pattern allowance | Bodices, zippers, structured areas | Easy to press and alter | Requires separate edge control |
Bound seam | Commonly 6-10 mm finished | Selected exposed interiors | Durable and decorative | Too heavy for fine chiffon |

Which Seam Fits Each Dress Area?
The best seam depends on the location of the garment. Side seams need a clean vertical finish, shoulders may require stabilization, waist seams must handle several layers, zipper seams need flat allowances, and ruffles require flexible construction. A reliable chiffon dress uses a seam plan by area rather than one method throughout.
Side and Shoulder Seams
Side seams are often the most visible internal seams in a chiffon dress. For unlined or lightly lined styles, French or baby French seams usually produce the cleanest appearance. They follow the vertical drape of the garment and reduce exposed fraying.
Fitted side seams need more caution. A narrow enclosed seam may look refined, but it must withstand movement around the waist and hip. The development team should check seam slippage, not only thread strength. In some fabrics, the stitching remains intact while the yarns pull away from the seam line.
Shoulder seams carry the weight of the bodice, sleeves, and sometimes a full skirt. Chiffon may stretch at the shoulder, especially in halter, one-shoulder, and open-back designs. Lightweight stabilization can prevent the neckline and armhole from dropping.
The stabilizer should be narrow and flexible. A heavy tape may create a rigid line that shows through the fabric. When a lining is present, the shoulder structure can often be supported through the lining or by joining the outer and inner layers strategically.
Waist and Zipper Seams
Waist seams frequently connect several layers: chiffon, lining, bodice fabric, gathering, elastic, or a waistband. A French seam may become too thick in this area, particularly when a gathered skirt is joined to a fitted bodice.
A plain stitched seam with narrow overlocking is often more practical. The allowance can be directed toward the bodice or skirt and secured to prevent rolling. If the skirt is heavy, reinforcement may be needed to prevent the chiffon from carrying the full load.
Invisible zipper seams require flat, stable allowances. Each edge should be controlled before the zipper is fully installed. Unfinished chiffon can fray into the zipper teeth, while an unstable opening may stretch and create a wavy line.
The zipper area should be checked for symmetry at the neckline, waist, and top edge. A mismatch of 2-3 mm can be visually obvious in fitted occasion dresses, especially where a waist seam crosses the zipper.
Bias Panels and Curves
Bias panels need support during sewing because the fabric can stretch under very little tension. Operators should keep the panel weight on the worktable rather than allowing it to hang behind the machine.
A gently curved bias seam may work with a carefully developed French seam. Tighter curves are often better handled with a narrow plain seam or overlocked construction because enclosed seams can resist turning and create ridges.
Mirrored panels should be sewn in a consistent direction. When the left and right sides are handled differently, one seam may lengthen more than the other. This can cause twisting even when the pattern is symmetrical.
Bias skirts should normally rest before final hemming. Depending on fabric stability, garment length, and panel shape, development teams may allow several hours or overnight hanging before levelling the hem. The exact time should be confirmed through sampling rather than treated as a fixed industry rule.
Sleeves, Ruffles, and Hems
Sleeve seams can use baby French construction when the curve is gentle. Tight underarm areas may need a narrow overlock or plain seam to preserve movement and avoid bulk.
Ruffles and flounces create curved edges and concentrated fullness. The joining seam should secure the gather without forming a hard band. Narrow overlocking is often practical for hidden tier seams, while visible transparent ruffles may require a finer enclosed finish.
Hems are not joining seams, but they strongly affect the appearance of chiffon dresses. Narrow rolled hems and baby hems are widely used because they maintain a light edge. A wide double-fold hem can make a circular or bias skirt look stiff.
For very full skirts, the operator must control differential movement around the curve. Uneven feeding can cause sections of the hem to flare, twist, or look rope-like.
Dress area | Preferred starting option | Key control point | Common failure |
Straight side seam | French or baby French seam | Even trimming and width | Raw fibres escaping |
Fitted hip seam | Tested enclosed or plain seam | Seam-slippage resistance | Fabric pulling away |
Shoulder seam | Stabilized narrow seam | Flexible support | Neckline dropping |
Gathered waist | Plain or narrow overlock seam | Bulk and load distribution | Thick ridge |
Invisible zipper | Plain seam with finished edges | Opening stability | Wavy zipper |
Bias panel | Tested narrow seam | Controlled feeding | Twisting or stretching |
Ruffle join | Narrow overlock or enclosed seam | Softness at gathers | Rigid seam band |
Circular hem | Rolled or baby hem | Hanging and levelling | Uneven finished length |
How Do You Prevent Seam Puckering?
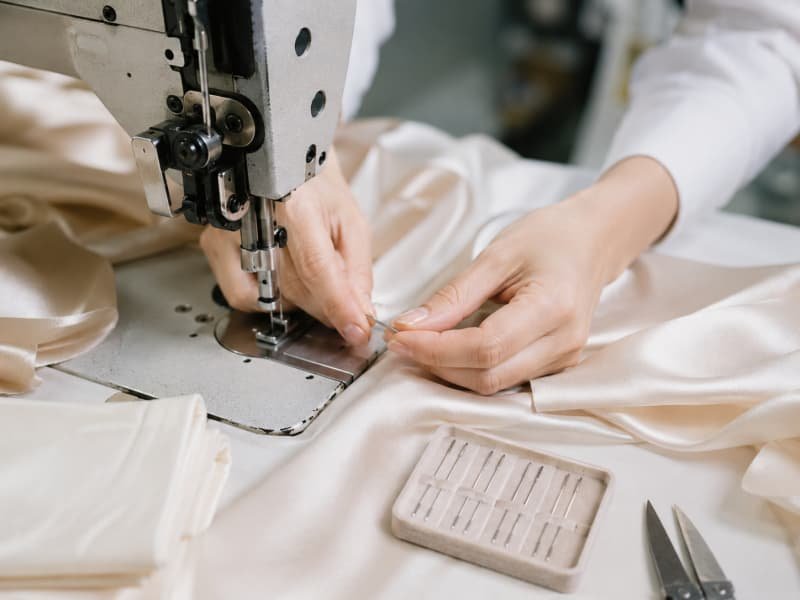
Preventing seam puckering requires balanced machine settings, fine needles and thread, suitable stitch length, low handling tension, and careful pressing. The correct combination must be tested on the actual chiffon because small changes in weave, finish, colour, or lining can alter the result. Puckering is usually caused by several factors working together.
Needle, Thread, and Stitch Length
A fine, sharp needle reduces yarn displacement and visible holes. For many lightweight chiffon fabrics, size 60/8, 65/9, or 70/10 needles are common starting points. The final choice depends on fabric density, number of layers, thread size, and surface finish.
The needle should be replaced frequently. A slightly damaged point may not break the fabric immediately, but it can pull individual filaments and create a visible line. This is especially serious on smooth, solid-colour chiffon.
Fine polyester thread is often practical because it offers consistent strength and low bulk. An approximate Tex 18-24 range may suit many lightweight woven applications, although supplier systems and thread numbering vary. The thread must be tested for shine, colour match, and heat response.
A stitch length around 1.8-2.2 mm is a useful development range for many light chiffon seams. Very short stitches can perforate the fabric, while long stitches may cause seam grin or weak control. The selected length should balance appearance, flexibility, and strength.
Tension and Feeding
High upper-thread tension is a common cause of puckering. The seam contracts because the thread is pulling the fabric inward. Reducing tension may help, but the goal is balanced stitch formation rather than simply making the setting loose.
Presser-foot pressure is equally important. Too much pressure can stretch the upper layer or push fabric ahead of the lower layer. This creates uneven feeding, especially on long side seams.
For overlock construction, differential feed should be adjusted until the edge remains flat after sewing and pressing. A setting tested on a very short swatch may not reveal cumulative stretching, so trial seams should be long enough to reproduce an actual garment operation.
The operator should guide the fabric lightly. Pulling from the front or holding back from behind changes the seam length. The panel must be supported on the table so its own weight does not apply tension during sewing.
Pressing and Cooling
Pressing can improve a chiffon seam, but it can also hide or create defects. Heat that is too high may flatten texture, create shine, shrink the fabric, or set puckering permanently.
A low-temperature starting point, pressing cloth, and limited pressure are safer for development. The iron should be lifted and placed rather than dragged along the seam. Sliding can stretch bias edges and move the allowance out of position.
Steam should be tested on the actual fabric. Some polyester finishes respond well, while others develop marks, texture changes, or local shrinkage. Crinkle chiffon may lose part of its surface effect if pressed too aggressively.
The seam should be evaluated after cooling. Heat can temporarily relax the fabric, making a seam look flatter than it will after several minutes. Production approval should reflect the cooled and settled result.
Production Trials
A proper trial should reproduce the actual garment construction. Testing a single layer of chiffon is not enough when the real seam includes lining, zipper tape, gathering, elastic, or reinforcement.
The trial should compare more than one setting where risk is visible. Useful checks include needle size, stitch length, thread tension, presser-foot pressure, overlock width, and pressing method.
Approved seam swatches should be retained with the technical file. They give operators and inspectors a physical reference for width, appearance, thread colour, and acceptable tension.
A written note such as “make the seam clean” is too subjective for production. A retained swatch, measured settings, and a sealed sample make the requirement repeatable across shifts and repeat orders.
Control item | Typical development range | What to check | Warning sign |
Needle size | 60/8-70/10 | Clean penetration | Pulled yarns or large holes |
Lockstitch length | 1.8-2.2 mm | Flat, flexible seam | Perforation or seam grin |
Fine thread | About Tex 18-24 | Low bulk and balanced stitch | Heavy shadow or contraction |
French seam width | About 5-7 mm | Full edge enclosure | Escaped fibres |
Narrow overlock width | About 3-5 mm | Complete edge coverage | Curling or exposed edge |
Presser-foot pressure | Machine-specific | Even layer feeding | One layer growing longer |
Pressing temperature | Fabric-specific; start low | No shine or texture loss | Glazing, shrinkage, hard ridge |

What Seam Problems Reduce Quality?
The most damaging chiffon seam problems are puckering, waviness, seam slippage, visible raw edges, skipped stitches, uneven seam width, snagging, and zipper distortion. These defects affect more than appearance. They can reduce comfort, weaken the garment, create poor fit, and increase return or rework risk.
Waviness and Show-Through
A wavy seam often means the fabric was stretched during sewing. High presser-foot pressure, incorrect feeding, poor panel support, or bias movement can all contribute. The seam may also ripple if thread contracts after pressing or laundering.
Show-through occurs when the construction is too heavy for the fabric. Wide allowances, dark thread, dense overlocking, and bulky intersections can create visible lines through chiffon.
The defect should be inspected under realistic conditions. A seam that looks acceptable on a white table may show clearly against skin or a contrasting lining. Strong photography lighting can make the effect even more obvious.
Correction may require more than adjusting the machine. The seam type, allowance width, thread size, lining colour, and pressing direction may all need review.
Fraying and Escaped Edges
In a French seam, exposed fibres usually indicate uneven trimming or insufficient enclosure. Fine hairs may look minor at first, but they can increase after wear or cleaning.
In overlocked seams, edge escape can result from insufficient cutting width, loose thread coverage, or irregular seam allowance. If the fabric has already frayed before sewing, the overlock may secure only part of the original margin.
Repeated unpicking makes the problem worse. Chiffon does not recover well from multiple rows of needle holes, and removing thread can disturb the weave.
Early inspection is important. The first completed pieces should be checked before the operation continues across a full bundle. Preventing a repeated defect is far safer than repairing hundreds of delicate garments later.
Seam Slippage and Splitting
Seam splitting and seam slippage are not the same. In a split seam, the thread or stitch formation fails. In seam slippage, the thread remains intact but the fabric yarns move away from the stitching line.
Slippage is common in loosely woven or smooth filament fabrics, especially in fitted areas. Hip seams, waist seams, armholes, and narrow back openings are typical risk zones.
Increasing stitch density does not always solve the problem. Too many needle holes can further weaken the fabric. A better solution may involve a wider seam allowance, reinforcement, reduced garment strain, a revised pattern, or a more stable chiffon quality.
Testing should apply stress in the same direction the garment will experience during wear. Pulling a seam randomly by hand is not as useful as evaluating the actual hip, shoulder, or zipper area under realistic fit conditions.
Snags and Needle Damage
Chiffon can snag on machine burrs, damaged needles, rough worktables, zipper components, jewellery, and decorative trims. A small pull may extend into a visible line across the panel.
Needle damage can appear as holes, pulled filaments, or faint ladder-like marks along the seam. These problems are more visible in solid colours and smooth surfaces.
Machine maintenance is therefore part of quality control. Replacing the needle does not solve a scratched needle plate or rough presser foot. Tables, clips, baskets, and garment racks should also be checked.
Decorative dresses need special attention. Sequins, crystals, hooks, and metal parts can rub against nearby chiffon during packing and wear. Their backs and edges must be smooth or protected.
Defects that normally require correction before shipment include:
- Open, skipped, or broken stitches.
- Exposed raw edges in an enclosed seam.
- Noticeable puckering along visible seams.
- Side seams that twist toward the front or back.
- Uneven French-seam width or visible trapped fibres.
- Zipper waves or misaligned waist seams.
- Seam slippage under realistic wear stress.
- Snags, needle cuts, or pulled yarns.
- Thread colours that remain obvious through the fabric.
- Rough allowances that affect wearer comfort.
Reworking chiffon carries its own risk because unpicking creates additional needle holes and fabric distortion. Quality control should focus on prevention and early line correction. Inspecting the first 5-10 garments after machine setup is generally more effective than discovering a repeated defect after a large quantity has been assembled.

How Should Brands Specify Chiffon Seams?
Brands should specify chiffon seams by garment area, not with one general instruction. The technical file should define seam type, allowance, finished width, stitch length, thread, edge finish, reinforcement, pressing direction, and lining relationship. Approved seam swatches and pre-production samples should support the written specification.
Clear Tech Pack Details
A note such as “use French seams” is not detailed enough for consistent production. The factory still needs to know where the seam applies, how wide it should finish, and what happens at curves, zippers, waist intersections, and lining joins.
The tech pack should identify every important seam location. A simple construction diagram is often more reliable than terminology alone because seam names can vary between companies and regions.
The specification should include initial seam allowance, final width, stitch type, stitch length, thread size, thread colour, reinforcement, and pressing direction. Where the seam changes construction, the transition point should be marked clearly.
Critical measurements should include practical tolerances. A narrow enclosed seam cannot vary widely without affecting appearance. The approved sample should show the accepted standard at difficult areas such as underarms, waist crossings, and zipper ends.
A usable chiffon seam specification normally records:
- Seam location and construction code.
- Initial and finished seam allowance.
- Finished enclosed-seam or overlock width.
- Stitch type and target stitch length.
- Thread composition, size, and colour.
- Edge-finish width and thread coverage.
- Reinforcement or stabilizer location.
- Pressing direction and permitted seam shadow.
- Lining attachment method.
- Approved tolerances at critical intersections.
Lining Relationships
The lining changes the construction plan. It may be assembled separately, joined to the chiffon at selected seams, or used to support the outer layer through the bodice.
Brands should state whether the skirt lining hangs freely, whether side seams are joined, and where thread chains or discreet tacks are required. These choices affect movement, transparency, and the likelihood of the layers twisting around the body.
The lining should also be evaluated for stretch and weight. A rigid lining can restrict a fluid chiffon shell. A very elastic lining may pull the outer layer out of shape. Colour affects seam visibility, particularly in pale or printed styles.
Lining length needs enough clearance to avoid showing below the chiffon while still providing suitable coverage. The difference should be confirmed on the dress form and during movement, not only by flat measurements.
Sample Approval
Sample approval should cover the inside and outside of the garment. A sample that looks correct from the front may still have unstable seams, visible allowances, or weak stress points.
The approved sample should be reviewed after pressing, cooling, hanging, and fitting. Bias garments require particular attention because their dimensions may change after resting.
Useful approval points include seam width, thread colour, transparency, puckering, slippage resistance, comfort, zipper flatness, hem balance, and lining behaviour.
The pre-production sample should use production-intent fabric, lining, thread, trims, and construction. Substituting one of these elements can change seam performance and create an approval that does not represent bulk production.
Bulk Control
Bulk quality depends on clear references and early checkpoints. The first pieces from each important operation should be inspected before full production continues.
Fabric preparation should confirm shade, defects, width, and stability. Cutting checks should confirm grain direction, panel pairing, and seam allowance. Line setup should verify needle, thread, stitch length, tension, and finished seam width.
Inline inspection should focus on high-risk areas rather than only general appearance. Bias side seams, gathered waists, zipper openings, narrow hems, and transparent unlined sections deserve more frequent attention.
Final inspection should confirm that workmanship remains consistent with the approved sample and that no pressing, packing, or handling damage has been introduced after sewing.
Production stage | Main seam checks | Practical evidence |
Fabric inspection | Stability, defects, shade, surface damage | Fabric inspection record |
Cutting | Grain, notches, panel length, allowance | Cutting audit or first-cut check |
Line setup | Needle, thread, tension, seam width | First-piece approval |
Inline sewing | Puckering, fraying, alignment, consistency | Inline QC report |
Pressing | Shine, ridge, distortion, shrinkage | Pressing approval sample |
Finishing | Zipper waves, snags, hem balance | Finishing checklist |
Final inspection | Appearance, strength, measurements | Final inspection report |
Build Chiffon Dresses That Stay Clean From Sample to Bulk
The best chiffon seam is not one universal construction. It is the seam that remains discreet, stable, and appropriate for its exact location in the garment. French and baby French seams can create beautiful interiors on sheer panels, but structured bodices, gathered waists, zipper openings, bias skirts, and layered ruffles often need different solutions.
For a commercial dress programme, the essential work happens before the production line starts: test the actual chiffon and lining combination, map the seam construction by garment area, record measurable specifications in the tech pack, approve seam swatches and production-intent samples, check the first pieces before volume sewing, and retain approved standards for repeat orders.
Duolan Apparel focuses on fashion dresses, party dresses, occasion dresses, vacation dresses, fitted silhouettes, and other fashion-led women’s collections. Its dress-development model connects fabric selection, pattern development, sampling, construction engineering, quality control, and scalable production. The wider manufacturing system includes 16 self-operated factories, more than 20 cooperating satellite factories, 300 sewing lines, over 50 flexible-response lines, and a SMETA 2-Pillar audit record.
For a chiffon dress collection, send your tech pack, reference sample, design sketches, size specification, fabric direction, and target order plan. The development team can review seam construction, lining, fit, material behaviour, and production risks before the sample is locked, helping the approved standard transfer more reliably into bulk production.
Share:
Our Services
Categories
Table of Contents
Here, developing fashion collections is more than manufacturing garments — it’s a collaborative process focused on transforming ideas into well-executed, market-ready products. From fabric sourcing and sample development to scalable production and delivery coordination, every stage is built to support quality, consistency, and efficient collection launches across global markets.

