 Skip to content
How Do You Specify Boning in a Corset Dress Before Sampling?
Your trusted Women’s Apparel Development & Manufacturing Partner from China
- Jerry
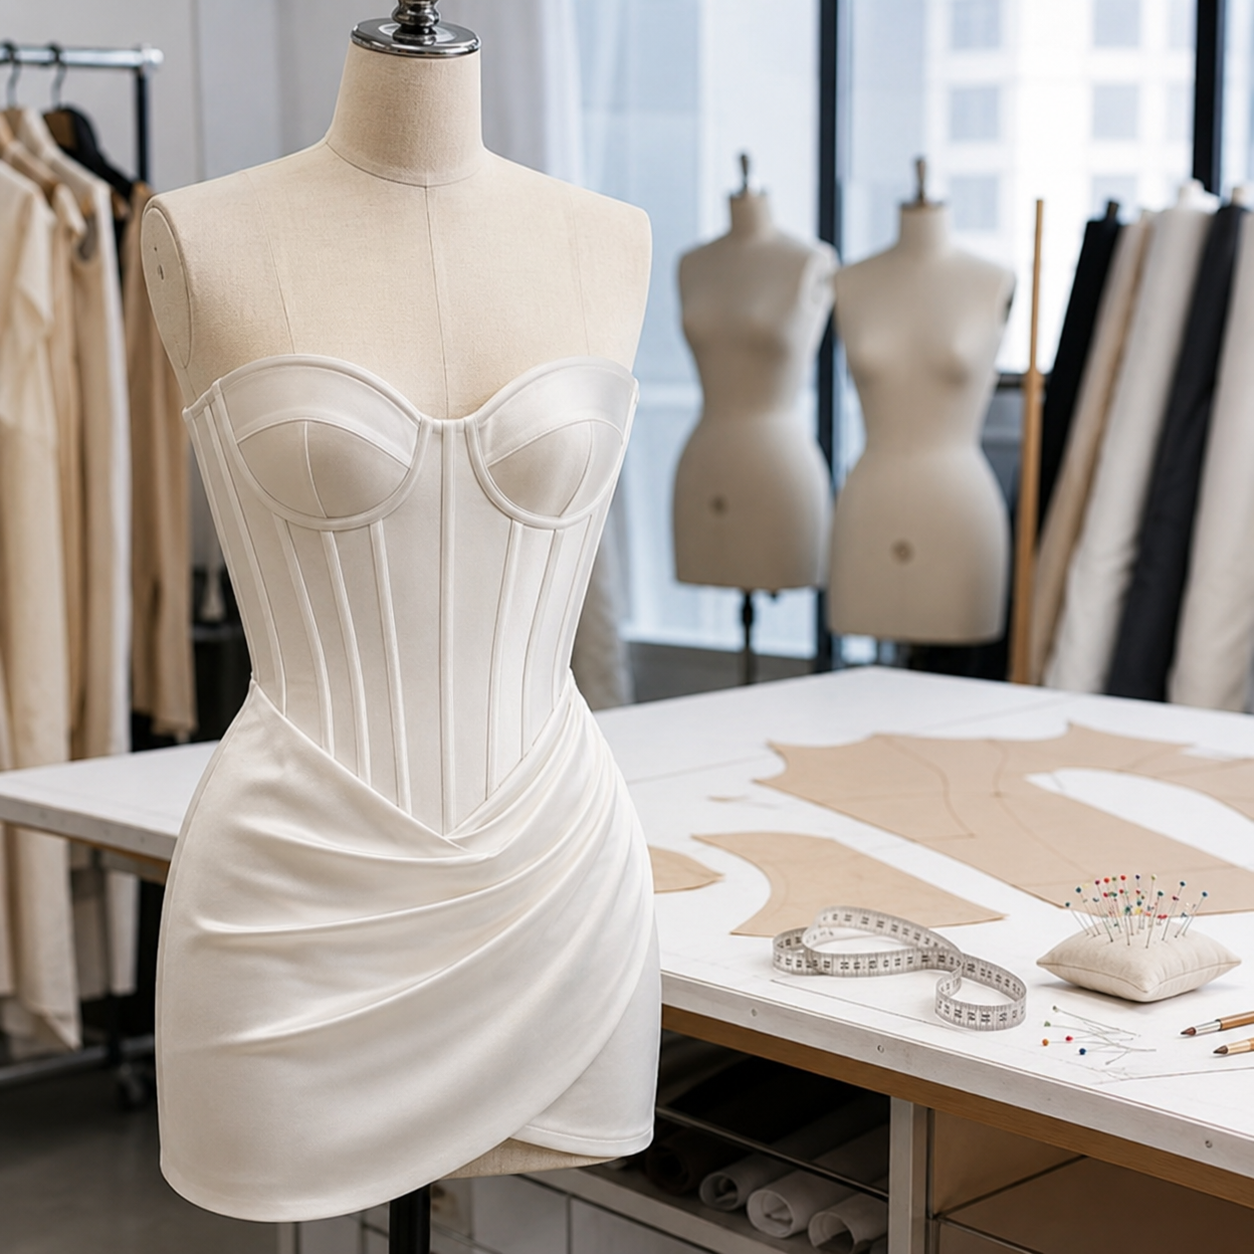
A corset dress can look beautifully structured in a sketch and still fail the moment someone puts it on. The neckline may open away from the body, the waist may wrinkle, the zipper may ripple, or the boning may bend into an uncomfortable shape. These problems are often blamed on sewing quality, but the real cause usually appears earlier: the boning was never specified as part of a complete support system.
To specify boning in a corset dress, define its job first, then record the material, width, rigidity, cut length, channel construction, exact placement, end treatment, and size-dependent changes. Coordinate those details with the shell fabric, support layer, cups, underwire, waist stay, and closure. Approve the system through a fit sample before releasing it to bulk production.
The important point is that boning does not magically create fit. It stabilizes a pattern, fabric, and internal construction that must already work together. One misplaced bone can push the bust into the wrong position; one missing support layer can make an expensive satin dress collapse. The strongest corset dresses are therefore not always the ones with the most boning. They are the ones in which every internal component has a clearly defined purpose. A well-known sample-room lesson proves the point: when a strapless dress keeps sliding, adding two more bones may make it stiffer, yet a properly positioned waist stay can solve the problem in one revision.
What Does Boning Need to Do?
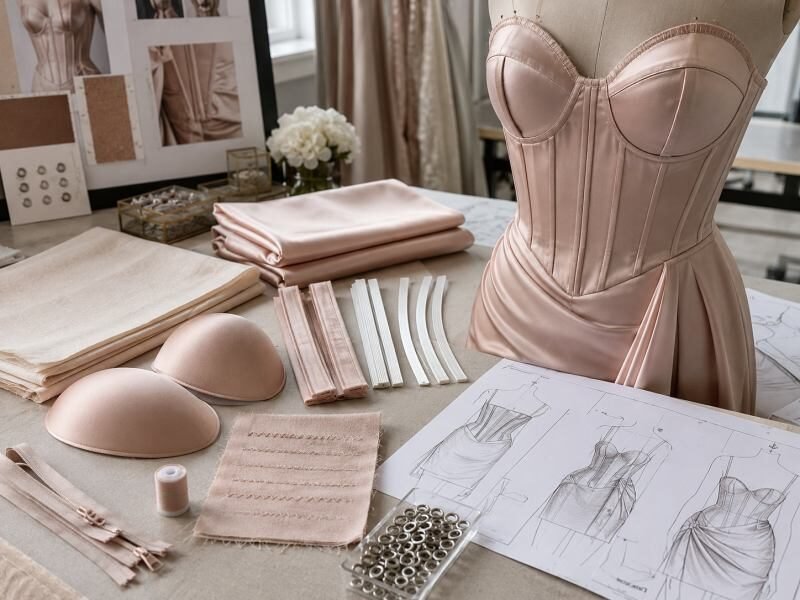
Boning should stabilize the bodice, control vertical collapse, support the neckline, distribute tension, and preserve the intended silhouette. Its role must be defined before selecting the material or layout. Boning cannot correct an inaccurate pattern, shallow cup, weak support layer, or loose waist. It works best as one part of a coordinated internal structure.
Define the Structural Job
“Add boning” is not a complete instruction. The development team first needs to know what the boning is expected to achieve. In one dress, it may stop a strapless neckline from rolling outward. In another, it may keep a long torso panel smooth between the bust and waist. In a lace-up style, its main job may be preventing the back opening from collapsing under tension.
A practical specification begins with a performance statement, such as keeping the neckline close to the body during movement, preventing vertical seams from folding, reinforcing both sides of a lacing panel, or maintaining a smooth center-front line without restricting sitting. These statements are more useful than a vague note such as “firm support” because they tell the pattern maker and sample room what the garment must actually do.
This distinction matters because different structural problems require different solutions. A neckline that opens away from the chest may result from insufficient contouring rather than weak boning. A bodice that slides downward may need a tighter waist, a waist stay, or better cup support. Adding stronger bones without correcting the real cause can make the dress stiffer while leaving the fit problem unchanged.
Map the Support Zones
The bodice should be divided into functional support areas before the bones are positioned. The center front usually needs vertical stability. The side front must follow the transition from bust projection to waist. The side seam needs enough support to resist folding but enough flexibility to remain comfortable. The back must respond to the closure type.
Common support zones include the center front, bust and underbust, side front, side seam, side back, center back, neckline edge, and closure reinforcement. The strongest support is not always required in the most visible area. A rigid bone placed directly over a curved bust seam can flatten the shape or create pressure. A more flexible bone may be suitable there, while a firmer strip is used beside the zipper or lacing.
The top and bottom of every bone also require attention. A bone ending under the arm can cause discomfort. A bone stopping at the fullest part of the bust may create a visible ridge. A bone ending too far above the waist may allow the lower bodice to fold. These decisions should be reviewed on the body, not only on a flat pattern.
Build a Complete Support System
Boning provides vertical control, but a corset dress usually depends on several internal components working together. These may include cups, underwire, interlining, power mesh, waist tape, elastic, lining, and reinforced closures.
A secure strapless bodice often needs the waist to carry part of the garment’s weight. When the waist is too loose, the dress may slide regardless of how many bones are installed. The wearer then tightens the upper edge or closure, creating pressure around the bust while the bodice still lacks a stable anchor.
Similarly, boning cannot create cup volume. If the bust shape is too shallow, firmer bones may push the entire front panel outward or compress the bust incorrectly. The pattern must establish the correct projection first. The boning then helps preserve that shape.
A balanced system assigns each component a clear job: the pattern controls fit and contour; cups or shaped panels control bust volume; underwire controls the underbust position where required; the waist stay anchors the garment; the support layer carries tension; boning prevents vertical collapse; and the closure maintains the approved circumference.
Judge Performance, Not Stiffness
A successful corset dress is not simply a stiff dress. It should retain its shape while the wearer walks, sits, reaches, and turns. Excessive rigidity can reduce comfort, create pressure points, and make the garment look unnatural.
During development, evaluate observable results rather than relying on general descriptions such as “strong support.” The neckline should remain close to the body, the waistline should stay level, the bones should remain vertical after sitting, and the zipper or lacing panel should not ripple. No bone should press into the underarm, create a hard ridge through the shell, or prevent the wearer from sitting comfortably.
The right structure is the lightest and most flexible system that consistently delivers the intended fit and appearance. That principle reduces unnecessary weight, avoids overengineering, and gives the customer a dress that feels as considered as it looks.

Which Boning Type Should You Use?
Choose boning by matching its flexibility, recovery, and directional strength to the dress construction. Plastic boning suits light-to-medium fashion support, spiral steel follows curved seams, and flat steel reinforces straighter, high-tension areas. A mixed system is often more effective than using one material throughout the entire bodice.
Plastic Boning
Plastic boning is widely used in commercial fashion dresses because it is lightweight, relatively easy to cut, and suitable for moderate support. It can work well in party dresses, fitted mini dresses, bustier tops, and corset-inspired styles that are not designed for strong waist reduction.
However, “plastic boning” describes a broad category rather than one consistent material. Products may differ in thickness, recovery, heat resistance, and tendency to form a permanent curve. A sample room should therefore test the exact boning quality intended for production.
Plastic boning is generally useful when the dress needs seam stabilization rather than heavy compression, the fabric and support layer have some flexibility, low garment weight is important, the channels follow gentle curves, and the product must remain comfortable for extended social wear.
Low-quality plastic can kink during sitting, curl after pressing, or form a permanent bend during transport. These failures may not appear when the garment is displayed on a mannequin. The material should be tested through repeated bending and a realistic wear trial.
Spiral Steel
Spiral steel bends in more than one direction, allowing it to follow curved body lines more naturally. It is often used along princess seams, side-front panels, and areas that move around the bust and ribcage.
Its flexibility does not mean it provides weak support. Spiral steel can provide strong vertical stability while accommodating complex curves. This makes it valuable in structured occasion dresses where the bodice must remain close to the body without feeling like a rigid shell.
Spiral steel is commonly considered for curved princess seams, side-front and side-back panels, longer torso sections, contoured waist panels, and structured strapless bodices. The ends must be properly capped or finished, and the channel must be wide enough to let the steel sit flat without rotating.
It is not automatically the best choice for every seam. Beside a strong lace-up closure, its lateral flexibility may allow the back edge to distort. A firmer flat steel bone is often more appropriate in that position.
Flat Steel
Flat steel provides strong resistance across its width and bends mainly in one direction. It is best suited to relatively straight areas where firm reinforcement is needed.
Common uses include beside back lacing, beside hook-and-eye closures, at the center front, along straight center-back channels, near busk systems, and in panels carrying significant horizontal tension.
Flat steel can maintain a clean vertical line, but it should not be forced around a pronounced body curve. When used in a strongly curved princess seam, it may press away from the body, distort the bust, or create discomfort.
Width and thickness should reflect the application. A wide, rigid strip may be appropriate beside lacing but too bulky beneath a narrow satin panel. The technical team should consider both structural performance and surface appearance.
Boning Type | Practical Width Range | Best Used For | Main Risk |
Lightweight plastic | 5-8 mm | Fashion corsets, seam support, light bodices | Kinking or heat distortion |
Synthetic whalebone-style plastic | 5-12 mm | Flexible shaping and curved channels | Quality varies by supplier |
Spiral steel | 5-7 mm | Princess seams and curved body panels | Requires protected cut ends |
Flat steel | 6-12 mm | Lacing, closures and straight reinforcement | Too rigid for complex curves |
Sew-through boning | 6-10 mm | Fast commercial construction and light support | Stitching may affect flexibility |
Mixed Boning Systems
Many well-developed corset dresses use more than one boning type. The front and side panels may need flexible support, while the closure edges need rigidity. Treating all channels identically can create either excessive stiffness or insufficient reinforcement.
A mixed layout might use spiral steel along curved front princess seams, plastic boning along secondary side-back seams, flat steel beside a lace-up back, and a firmer center-front bone to maintain the torso line.
Every position must be coded in the tech pack. A clear system may identify each bone as B01, B02, and B03, with the bill of materials listing its type, width, and length. Without this level of control, the sample room may make a reasonable choice that is later interpreted differently during bulk production.
Mixed systems also require finishing tests. Metal and plastic respond differently to pressing, laundering, and storage. Approval should be based on a fully finished garment made with the intended shell, lining, and construction—not an unfinished bodice mock-up alone.

How Do You Set the Boning Specs?
A complete boning specification states the material, supplier reference, width, thickness or rigidity, cut length, channel width, end treatment, placement, and size rules. Avoid vague notes such as “firm boning” or “length to fit.” Precise specifications reduce sample revisions and prevent inconsistent bulk construction.
Set Width and Rigidity
Width should be chosen according to the panel size, body curve, fabric sensitivity, and structural demand. A wider bone may offer more resistance, but it also consumes more space, increases bulk, and can produce visible ridges.
Four questions help determine an appropriate width: how much structural resistance is required, how narrow the panel or seam allowance is, how easily the shell reveals internal construction, and how much curvature the bone must follow. Narrower flexible bones often work better on curved bust and waist seams. Wider rigid bones are more appropriate for closure reinforcement or long straight areas.
The finished internal channel should normally be slightly wider than the bone. A starting allowance of approximately 1-2 mm is often practical. A 6 mm bone may therefore use a channel near 7-8 mm internally, depending on bone thickness and channel fabric.
A channel that is too narrow can make insertion difficult and cause twisting. A channel that is too wide can allow the bone to rotate or migrate. Measure the finished channel after sewing because seam thickness and fabric compression can reduce the usable width.
Calculate the Length
Boning length should be recorded as an exact cut measurement by size or calculated from a controlled channel length. “Cut to fit” allows individual operators to make different decisions.
A basic calculation is: finished channel length minus top clearance minus bottom clearance equals bone cut length. For many fashion corset dresses, an initial clearance of roughly 5-10 mm at each end is used during sampling. The final amount depends on end-cap thickness, top-edge construction, waist seam depth, binding, channel closing method, boning material, and body movement.
A bone that is too long may push against the neckline or waist seam and create a sharp visible point. A bone that is too short leaves part of the panel unsupported and can move within the channel.
Lengths should be reviewed across the size range. Bust height, torso length, and waist position do not always grade at the same rate. Larger sizes may need different internal components and placement rules rather than a simple proportional increase.
Specify the Channel
The channel may be formed from seam allowances, separate channel tape, lining layers, or an independent support bodice. Each method has advantages and limitations.
Seam-allowance channels reduce the number of extra components and can create a clean interior, but the seam allowance must be wide and stable enough. Separate channel tape allows the bones to be positioned independently from the outer seam lines. An internal support bodice is often preferable when the shell is delicate, sheer, or heavily embellished.
The channel specification should remain consistent across the technical drawing, bill of materials, construction sheet, and pre-production sample. It should identify the material, finished internal width, stitching method, opening and closing method, top and bottom clearance, and acceptable placement tolerance.
The important measurement is the finished internal space after sewing, not the nominal width of the tape before it is attached. Small construction differences can change whether the bone sits flat or rotates.
Specification Field | Required Information |
Bone reference | Material name and approved supplier code |
Width and thickness | Millimeter measurement or approved physical sample |
Cut length | Exact value for each size |
Channel material | Composition, weight, color and width |
Internal channel width | Finished measurement after stitching |
Top clearance | Distance between bone and upper channel end |
Bottom clearance | Distance between bone and lower channel end |
End finish | Rounded, capped, dipped, taped or heat-finished |
Closing method | Seam closure, bartack, binding or lining closure |
Placement tolerance | Acceptable variation from the approved position |
Finish the Ends Safely
Boning ends must be smooth and protected. This is particularly important with steel, but plastic can also develop sharp corners after cutting.
Common end treatments include metal end caps, dipped protective coating, rounded and polished plastic ends, heat-rounded synthetic boning, secure tape wrapping, and manufacturer-prepared finished ends.
The treatment must not add so much bulk that it becomes visible through the garment. End caps should sit flat within the channel, and the channel should be securely closed so the bone cannot move upward during wear.
The sample should be inspected after repeated sitting and bending. A bone that appears secure when new may gradually work through a loosely woven channel. Delicate satin, fine lining, and stretch mesh often need a stronger internal channel material than the visible garment layers suggest.

Where Should the Boning Go?
Boning should follow structurally useful lines that distribute tension and maintain the silhouette. Typical positions include princess seams, side-front and side-back panels, side seams, center-front channels, and closure edges. Placement should reflect the bust shape, waist position, neckline, and closure—not simply copy every seam shown in the design.
Use Structural Seams
Princess seams are often effective boning locations because they run vertically and already control body contour. They are particularly useful for supporting the transition between the bust, underbust, and waist.
However, a curved princess seam and a straight center-front seam do not need the same boning. The curved seam may need spiral steel or flexible plastic, while the center front may require firmer reinforcement.
The side seam is another common position, but it should be handled carefully. A long rigid bone directly below the underarm can press into the wearer when she sits or lifts her arms. Shortening it, moving it slightly forward, or using a more flexible type may improve comfort.
Decorative panel lines should not automatically become boning channels. Some corset-inspired dresses feature diagonal or curved outer seams for visual effect. If those lines do not align with the body’s support needs, an independent internal channel can be added without changing the outer design.
Balance the Layout
Boning works by distributing tension. When the bones are concentrated in one area, the unsupported panels may fold or stretch while the reinforced section remains rigid.
A balanced bodice generally considers at least one support line near each side seam, reinforcement around the closure, front support that does not flatten the bust, side-front support that controls the bust-to-waist transition, and back support that prevents rolling or collapse.
The quantity alone does not determine quality. Eight correctly placed bones in a well-balanced pattern can perform better than sixteen bones added without a clear structural plan. More bones also increase material cost, sewing time, garment weight, and the chance of visible ridges.
Instead of asking only how many bones are required, check whether every major panel is stable, the tension is distributed, the neckline remains close to the body, the waist stays in position, and the bones remain vertical after movement.
Bodice Type | Common Starting Count | Typical Support Level | Development Focus |
Light corset-inspired dress | 6-8 bones | Light | Seam stability and wrinkle control |
Fitted party dress | 8-10 bones | Light to medium | Neckline and torso support |
Strapless occasion dress | 8-14 bones | Medium | Bust, waist and closure stability |
Lace-up structured dress | 10-16 bones | Medium to firm | Tension distribution and back reinforcement |
Strong shaping bodice | 14+ bones | Firm | Even support with narrow, closely spaced channels |
Reinforce the Closure
The closure changes the way tension travels through the garment. A concealed zipper needs support close enough to prevent waviness but not so close that the bone interferes with the zipper tape, needle, or seam allowance.
A lace-up back usually creates greater horizontal tension. Firm bones are often placed on both sides of the lacing area to prevent the opening from bowing inward or twisting. The eyelet or loop reinforcement must also connect securely to the support layer.
Hook-and-eye tape requires a stable edge. When the edge is too soft, it may roll outward and expose the closure. A bone beside the tape can help maintain a flat line, but the spacing must allow the hooks to function comfortably.
Placement should be measured from a stable reference point, such as the finished closure edge or seam line. “Near zipper” is not sufficient for production, especially when several operators or factories may work from the same technical file.
Protect Pressure Areas
Boning should not terminate at a sensitive pressure point. Common risk areas include the underarm, lower rib, top of the hip, fullest bust point, underbust wire edge, waist seam, and center-front abdomen.
During fitting, ask the wearer to sit, reach forward, and raise her arms. A bone that is comfortable while standing may become painful when the torso shortens during sitting.
The top of the side bone often requires particular attention. A few millimeters can make a meaningful difference near the underarm. The correct length should be approved on the fit model and recorded by size.
Pressure issues should be corrected by adjusting position, length, type, or channel angle. Simply padding the bone may hide the problem temporarily without resolving the underlying geometry.
How Do Fabrics Affect Boning?
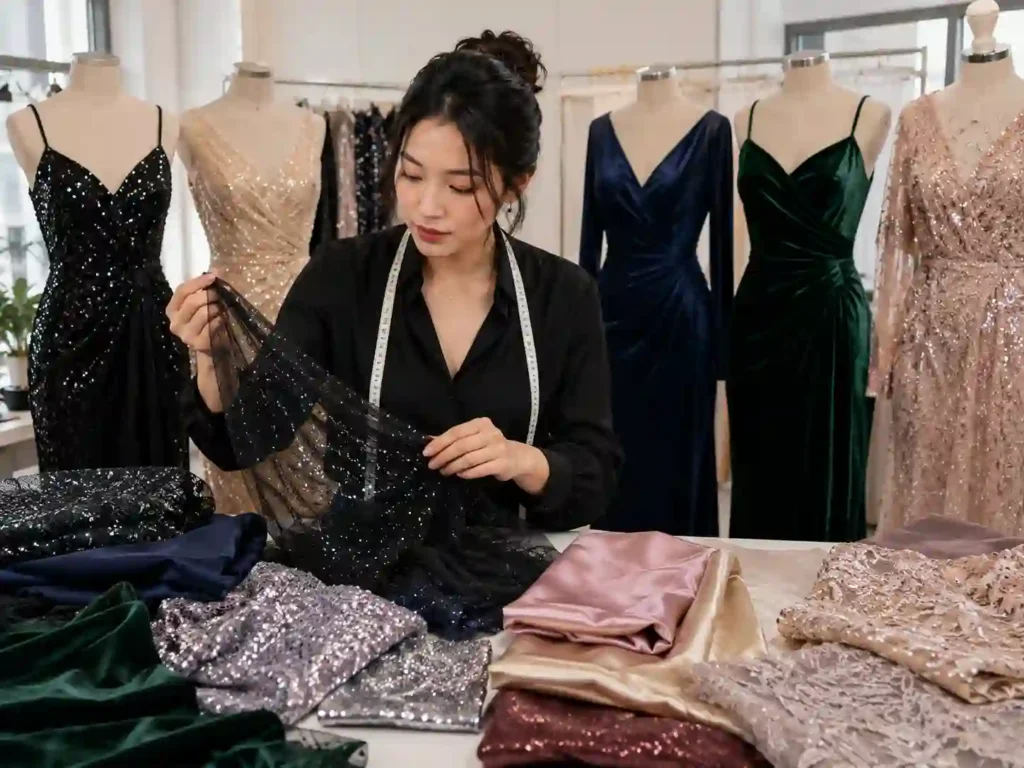
Fabric affects how boning performs, how visible it becomes, and how tension moves through the dress. Thin satin may reveal channels, stretch mesh may shift around the structure, and embellished fabrics may add significant weight. The shell, support layer, lining, and boning must therefore be developed as a coordinated system.
Check Shell Behavior
Fiber content alone does not predict how a fabric will behave over boning. Two polyester satins may have different thickness, stretch, drape, and surface reflection. One may conceal the internal construction well, while another shows every channel under side lighting.
Important properties include fabric weight, widthwise and lengthwise stretch, recovery after stretching, drape, opacity, surface sensitivity, seam stability, and response to heat and pressure.
Thin satin often shows boning ridges and seam puckering. Stretch mesh may continue expanding while the internal channel remains fixed. Velvet can develop pressure marks during pressing. Sequin fabric may be heavy and difficult to fold cleanly around the neckline or waist.
The sample should be inspected under front, side, and overhead lighting. A channel that appears invisible in flat room light may become obvious in photography or evening lighting, which matters for party and occasion dresses.
Choose the Support Layer
The support layer carries structural tension. It should not be selected as an afterthought.
Possible materials include stable woven interlining, non-stretch lining, power mesh, fusible-backed fabric, coutil-style support fabric, and a separate internal bodice. The required support depends on the shell and silhouette.
A delicate satin shell may need a stable inner layer that carries the boning independently. A stretch dress may use power mesh to maintain flexibility while controlling expansion. A heavily embellished bodice may need a stronger base to support the added weight.
The grain and stretch direction of the support layer must be controlled. Power mesh placed in the wrong direction may allow too much expansion at the waist. A woven layer cut off-grain can twist after wear.
Shell Material | Common Structural Risk | Practical Support Approach | Boning Consideration |
Lightweight satin | Ridges, puckering and shine marks | Stable interlining or separate inner bodice | Use smooth, controlled channels |
Stretch mesh | Shifting and over-expansion | Power mesh or stable partial lining | Anchor channels to the support layer |
Jersey | Twisting and uneven stretch | Recovery-tested lining or interlining | Avoid unsupported floating channels |
Velvet | Pressure and pressing marks | Sewn-in support layer | Reduce surface compression |
Sequin fabric | Weight and bulky seams | Strong base fabric and reinforced lining | Keep channels away from heavy seam intersections |
Chiffon overlay | Transparency and movement | Structured inner bodice | Place boning inside the opaque support layer |
Coordinate Cups and Underwire
Cups, underwire, and boning must be developed together. When these parts compete for the same space, the garment can become bulky or uncomfortable.
A molded cup may control volume, but it cannot correct an inaccurate bust panel. Underwire needs a stable cradle and correctly shaped channel. Boning placed too close to the underwire can create pressure under the bust or prevent the wire from sitting correctly.
Review the relationship between the bust point, cup edge, underwire channel, side-front bone, waist stay, neckline, side seam, and closure. There is no universal spacing because cup shape, body size, and construction vary. The correct relationship should be established on the pattern and confirmed during fitting.
For braless dresses, the internal structure carries more responsibility. The fit model should match the intended customer profile, and testing should include movement and wear time. A mannequin cannot reveal pressure, slippage, or bust instability.
Control Bulk and Visibility
Corset dresses may contain shell fabric, interlining, lining, channel tape, bones, cups, wire, elastic, and seam allowances in a small area. Without careful planning, these layers create bulky intersections at the waist, neckline, or side seam.
Before constructing the full sample, make a small cross-section trial using the intended materials. This reveals whether the bone is visible through the shell, whether the seam can be pressed flat, whether the channel remains wide enough, and whether the end cap creates a bump.
Bulk should also be reviewed after grading. A construction that feels manageable in a small size may become thicker where larger cups, wider channels, or stronger components are used.
The outer appearance should remain clean. Internal engineering is successful when it supports the silhouette without announcing itself through ridges, puckering, or hard edges.

How Do You Document and Test Boning?
Document boning with numbered internal drawings, a detailed bill of materials, size-specific lengths, channel instructions, and clear workmanship tolerances. Test the completed garment on a fit model for support, movement, pressure, and recovery. Bulk quality control should inspect the hidden structure before the lining is closed.
Build a Clear Tech Pack
The tech pack should allow the sample room and production team to reproduce the boning system without relying on memory or personal judgment.
Include front and back internal views, numbered bone positions, exact start and end points, material, width, thickness, length by size, channel type, end treatment, distance from seams and closures, and the relationship to cups and underwire.
Each bone should have a unique code. The same code should appear in the drawing, bill of materials, and length chart. A production note should also be specific. For example: “B01 and B02: 6 mm spiral steel in 8 mm finished channels; cut length according to size chart; leave 7 mm clearance at top and bottom; finish with approved caps.”
This level of detail controls material, channel, length, and finishing in one instruction. It also makes sample comments easier to track because the team can refer to one exact position instead of describing a general area.
Test the Fit Sample
The first fit should check the body relationship before the garment is judged cosmetically. Review the bust point, cup volume, underbust shape, waist level, neckline contact, side seam balance, closure alignment, bone direction, and pressure points.
The dress should then be tested in motion. Ask the fit model to sit, walk, turn, reach forward, and lift both arms. A wear period of approximately 20-30 minutes can reveal problems that are not visible during a brief standing fit.
After movement, inspect for permanent bone bending, twisted channels, neckline gaping, bodice slippage, zipper rippling, lacing distortion, cup movement, underarm pressure, lining damage, visible ridges, and left-right imbalance.
Fit comments should describe the location, problem, and required correction. “Boning uncomfortable” is too vague. “Shorten the upper end of B06 by 8 mm because it presses below the right underarm when sitting” gives the sample room an actionable instruction.
Approve Size Rules
The internal structure must be reviewed across the size range. Boning lengths and positions should not be graded automatically without checking changes in bust height, torso length, waist position, and cup volume.
Depending on the style, the size range may require different bone lengths, additional support in larger sizes, wider or firmer closure reinforcement, different cup references, adjusted wire sizes, revised side-bone positions, or changes in waist-stay length.
A single base-size sample cannot prove that the structure works in every size. At minimum, the development team should review strategically selected sizes that represent meaningful changes in body proportion or internal component requirements.
Grade rules should be written into the technical file. When the number or type of bones changes by size, the bill of materials and internal drawing must show those differences clearly.
Control Bulk Production
Because boning is hidden inside the garment, final inspection alone is not enough. Important checks must be completed while the channels and bones are still accessible.
A practical control sequence is to verify incoming boning against the approved reference, confirm width and rigidity, check cut lengths by size, inspect channel width and placement, verify top and bottom clearance, confirm end finishing, and check left-right symmetry before the lining is closed.
The production team should retain an approved boning sample and a finished reference garment. A replacement bone with the same width may still differ in thickness, recovery, or heat response. Material substitutions should therefore be approved before use.
Critical placement tolerances should be specified rather than described as “approximately.” Closure bones and visible front channels usually require tighter control than secondary support positions. The final standard should be based on the sensitivity of the design, fabric, and fit.
Develop Your Corset Dress with Duolan Apparel
A successful corset dress is not created by selecting the strongest available boning. It is created by defining the silhouette, engineering the internal support, testing the garment on the body, and controlling every specification during production.
Duolan Apparel supports corset and bustier dress development for fashion, party, occasion, and body-conscious collections. The development process can begin from a tech pack, reference sample, design drawing, size chart, fabric direction, or an existing garment that needs structural improvement.
For a custom project, share the target silhouette, intended support level, size range, shell fabric, closure type, cup or underwire requirements, and expected order plan. The team can review the boning layout, fabric compatibility, fit risks, sampling path, and production feasibility before quotation.
Share:
Our Services
Categories
Table of Contents
Here, developing fashion collections is more than manufacturing garments — it’s a collaborative process focused on transforming ideas into well-executed, market-ready products. From fabric sourcing and sample development to scalable production and delivery coordination, every stage is built to support quality, consistency, and efficient collection launches across global markets.

